DIY Garters
September 29, 2018
As Homecoming approaches, many students will be building their own signature mums and garters. Our reporter shows us how to make your own.
Here’s what you’ll need to make materials you will need to make a garter for Homecoming.
- Homecoming cardboard disc (around 3 disks)
- Mum/garter flower
- Arm band
- Hot glue gun
- Stapler
- Scissors
- Ribbon (in your school colors) make sure to have a couple of the roles just incase you mess up or just to have enough
- Colorful ribbon, or ribbon to design
- Ruler or a yardstick
- Decorative objects like a little football, or a little stuffed mascot, beaded necklaces
- You can also have letters to glue on the actual ribbon
- A flower of your school color white is usually for seniors but you can have white if you want
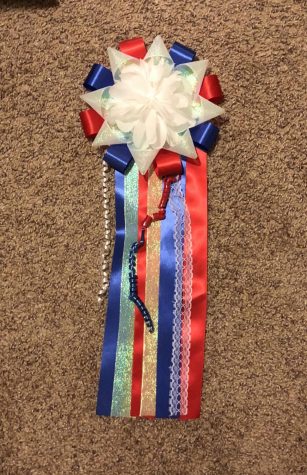
Here are the steps to make a simple garter.
- Start of by cutting the ribbon to around 4 inches. Once the ribbon is cut, fold it two different ways either have it go one end to the other to make it look like a square, or fold it to make it look like a triangle. To do that get one end and twist inwards. For it to stay either staple it or glue it.
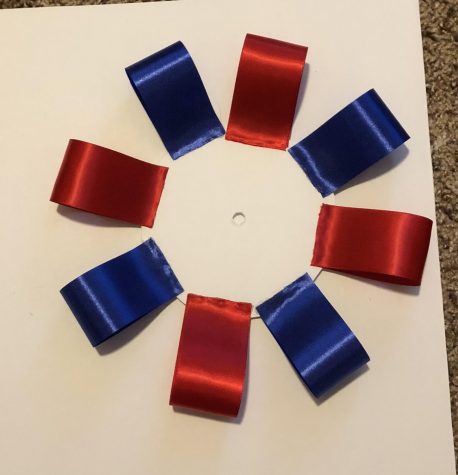
- Once at least 16 of the two colors (or more) are folded, get the disk and start by putting four of one color in a plus sign around the disk. After that do the same thing with a different color until the outside of the disk is covered.
- When done with that get the other disk so that is the disk where the ribbon hangs down, place the ribbon placed on top of each other or put the ribbon where it overlaps the first color a little so that all the ribbon glued from one side to the other side when you do this make sure not to cover the hole that is in the middle so glue the ribbon slightly under the hole. When done if they are not all the same length, leave it like that or you can cut it to make it look straight.
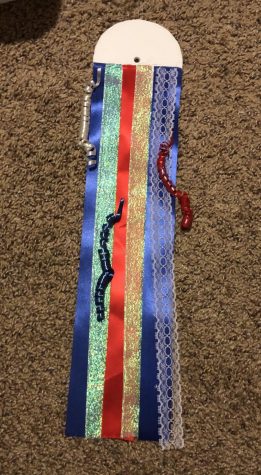
- Use other ribbon if possible, some with designs on them this would be good. You could also glue letters or some objects you bought to put on the actual ribbon itself.
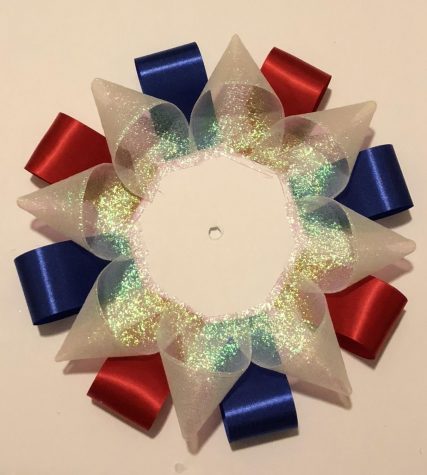
- After putting all the finishing touches in the ribbon glue the flower to the first disk where it has the square or triangle ribbons.
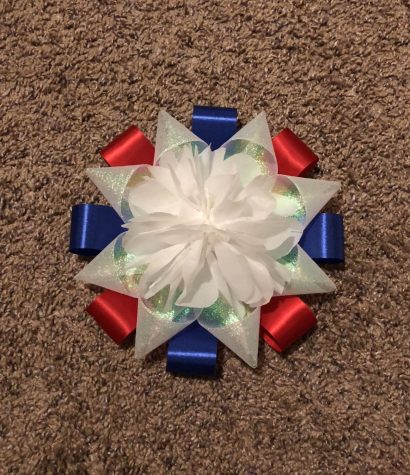
- Once that is glued, glue that whole piece to the other disk that has all the ribbon hanging down.
- On that last disk glue your arm band down on the back of it, preferably in the middle at this point the stem of the actual flower shouldn’t really bother you or poke you.
- ******Make sure this is glued all of this down its very tight and secure.******
- Once everything is glued and put on wear the mum/garter with pride!